Obsidian + Git pages自动部署博客系统搭建

Contents
为什么写这篇文章
我之前使用 neovim 写 markdown,hugo 管理博客静态站点,并写了一个编译 hugo,并发布到 github pages 的脚本。
最近开始迁到 obsidan 做笔记,完备的插件生态,颇有俯拾即是、左右逢源之感。
于是就想着编辑 markdown 都用 obsidian,故研究了一下使用 obsidian+git 插件+github Actions 替代原有工作流,在 obsidian 内完成从编写博文到部署到 github pages 的所有流程。
下面是配置流程
-
github 侧的配置
- 需要两个 repo,一个对应 hugo 项目目录,一个是 github pages 的 repo。

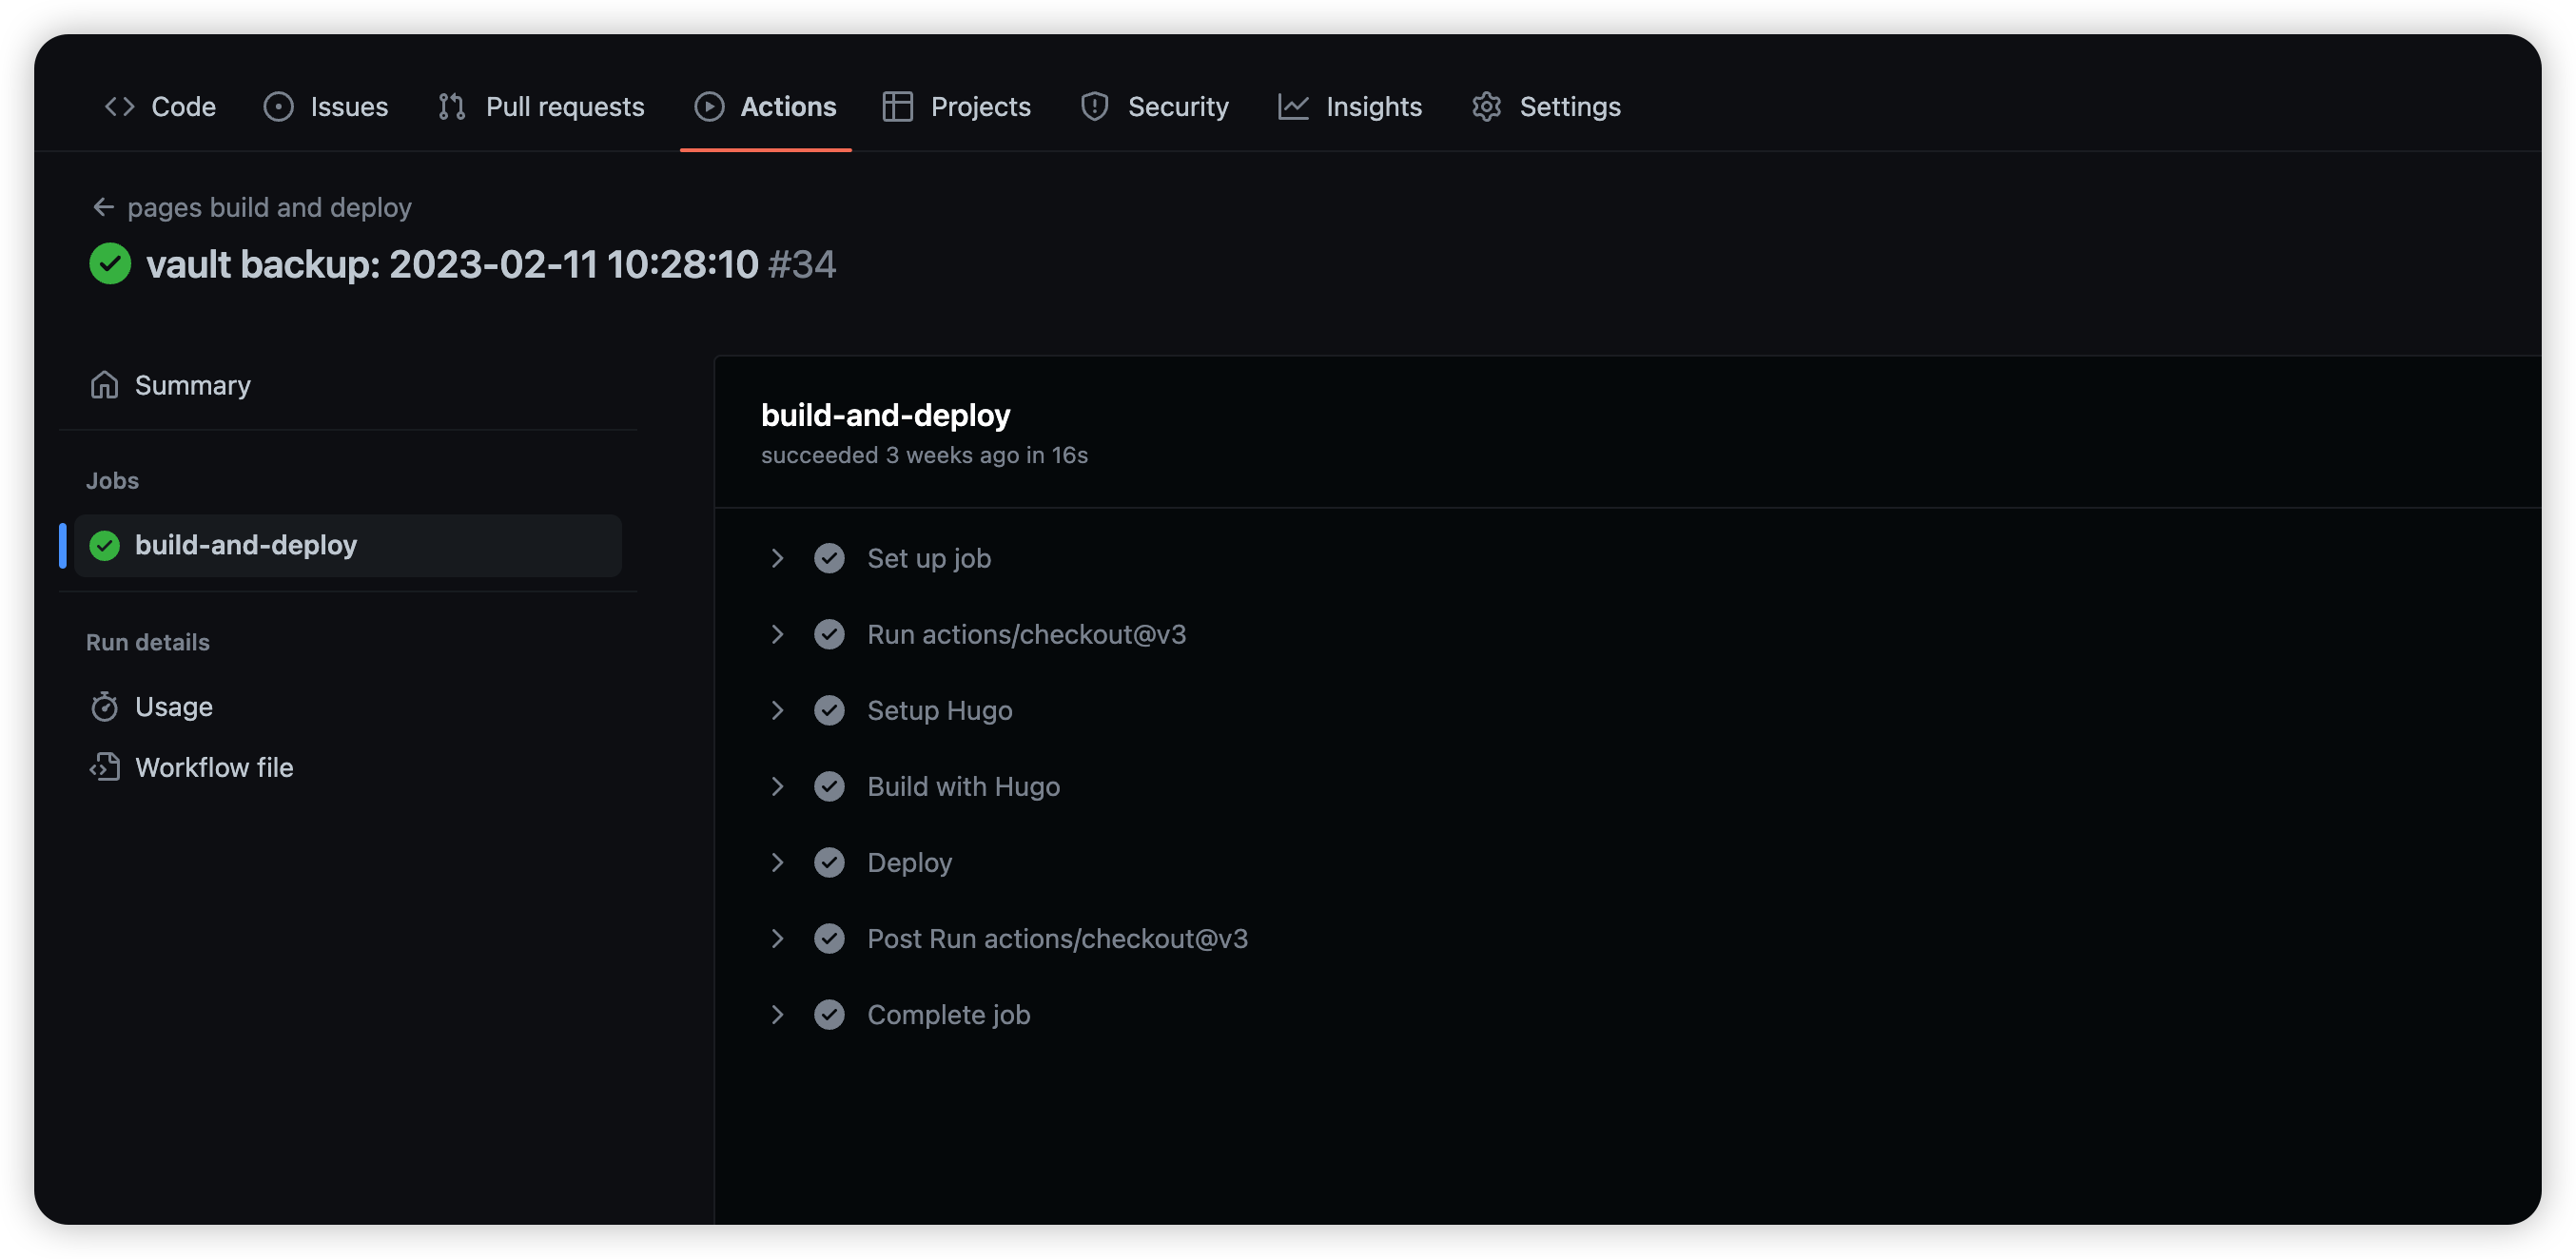
- 在 hugo 项目目录里,设置 Actions 的 workflow
- 新建 workflow
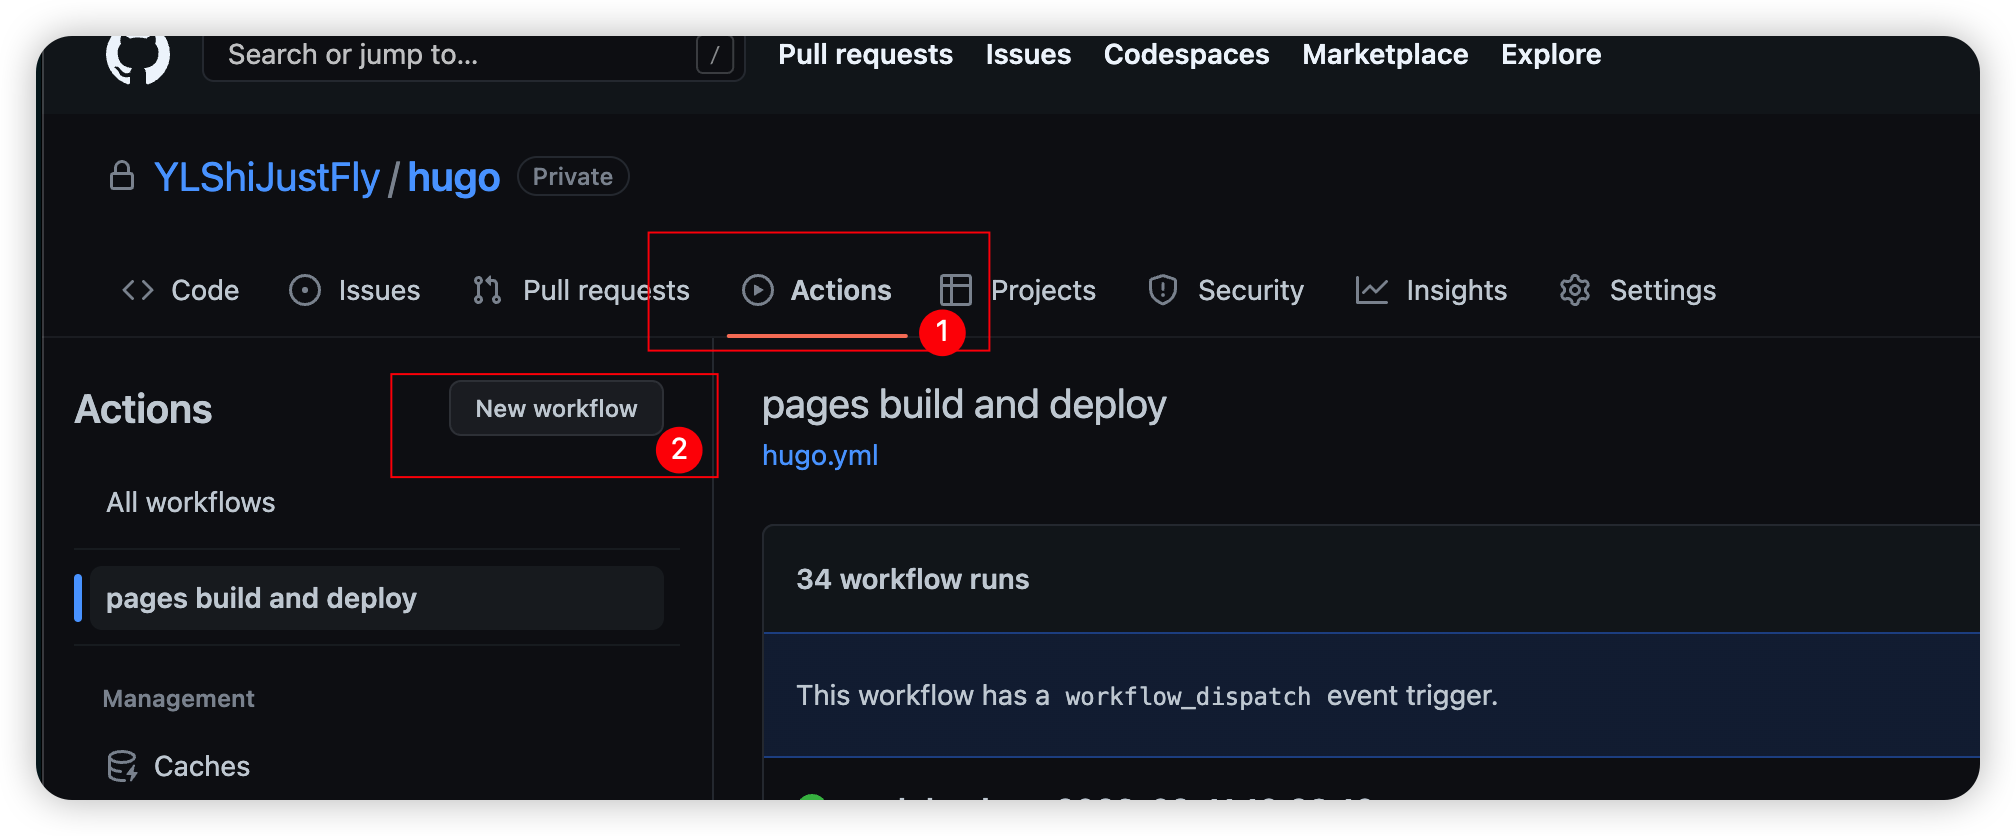
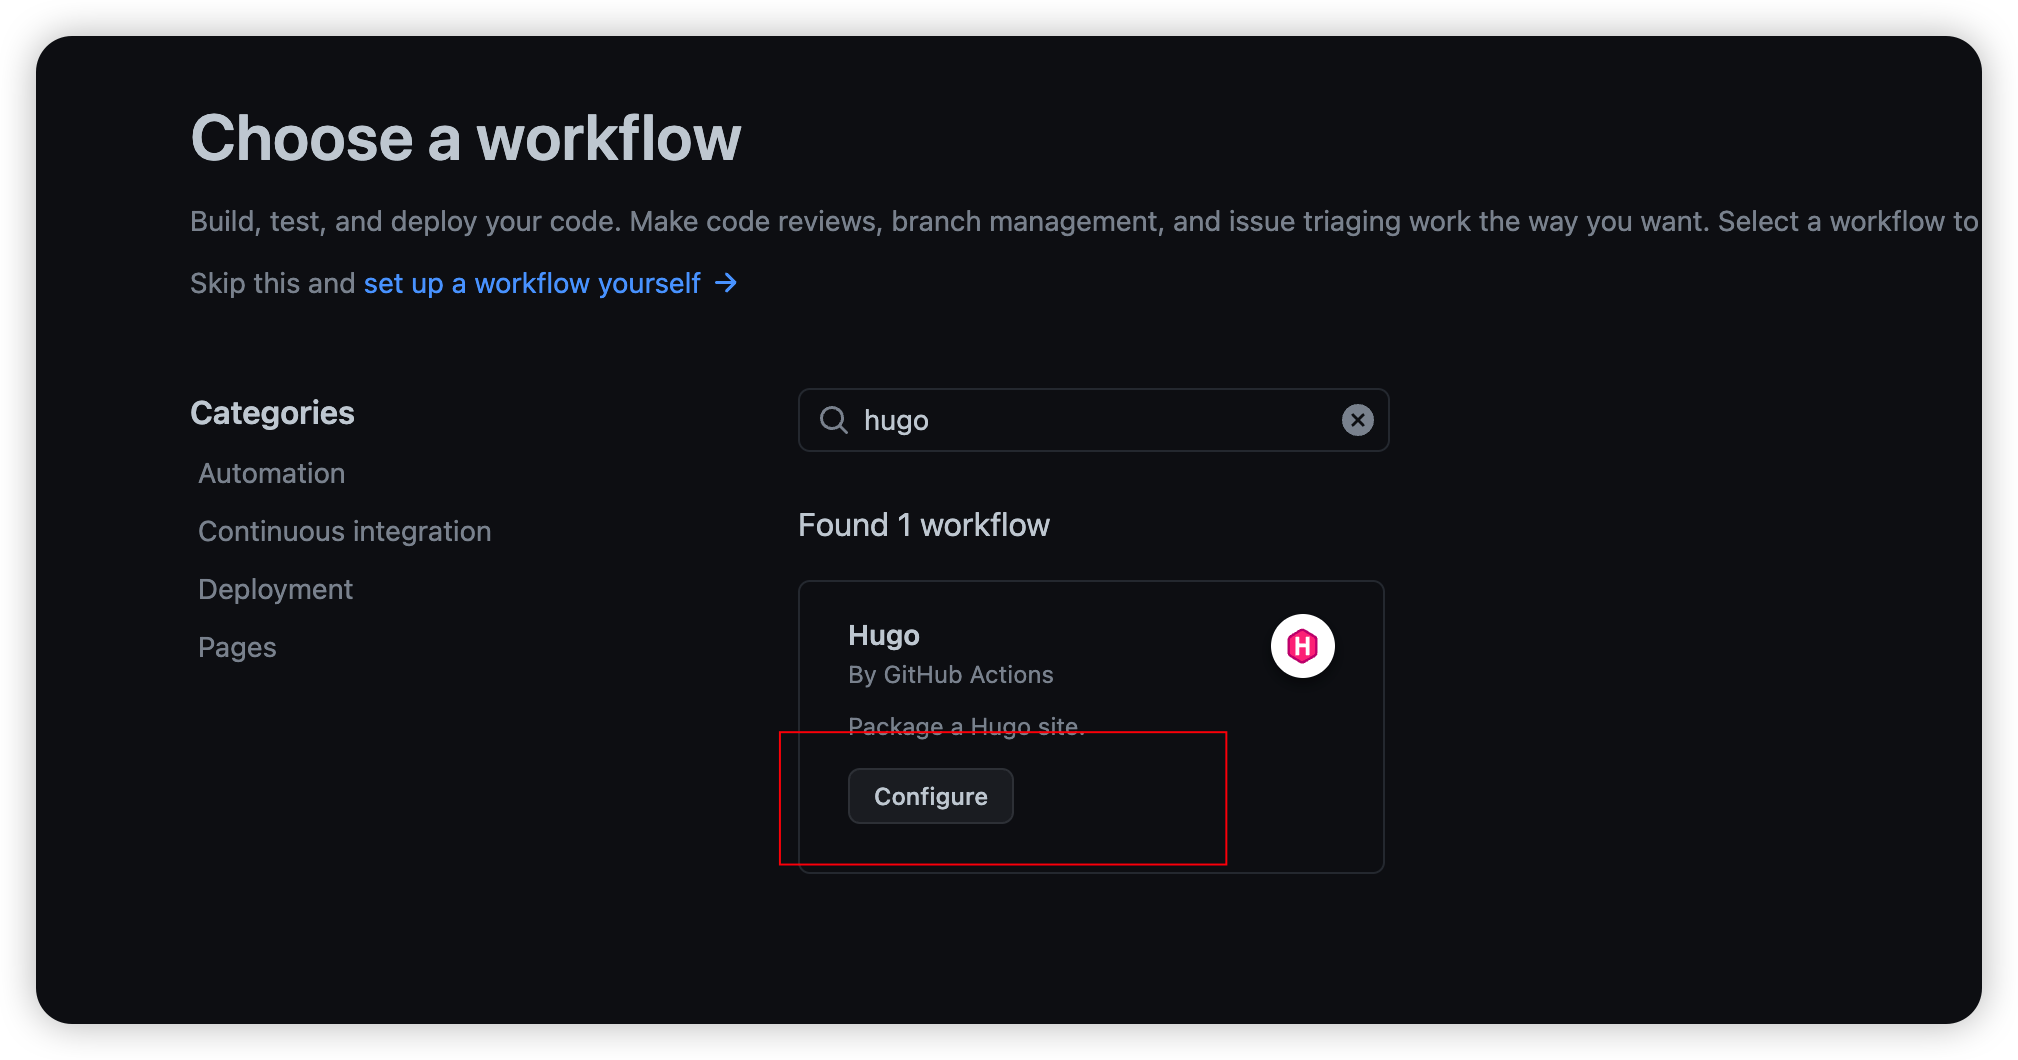
- 搜索 hugo
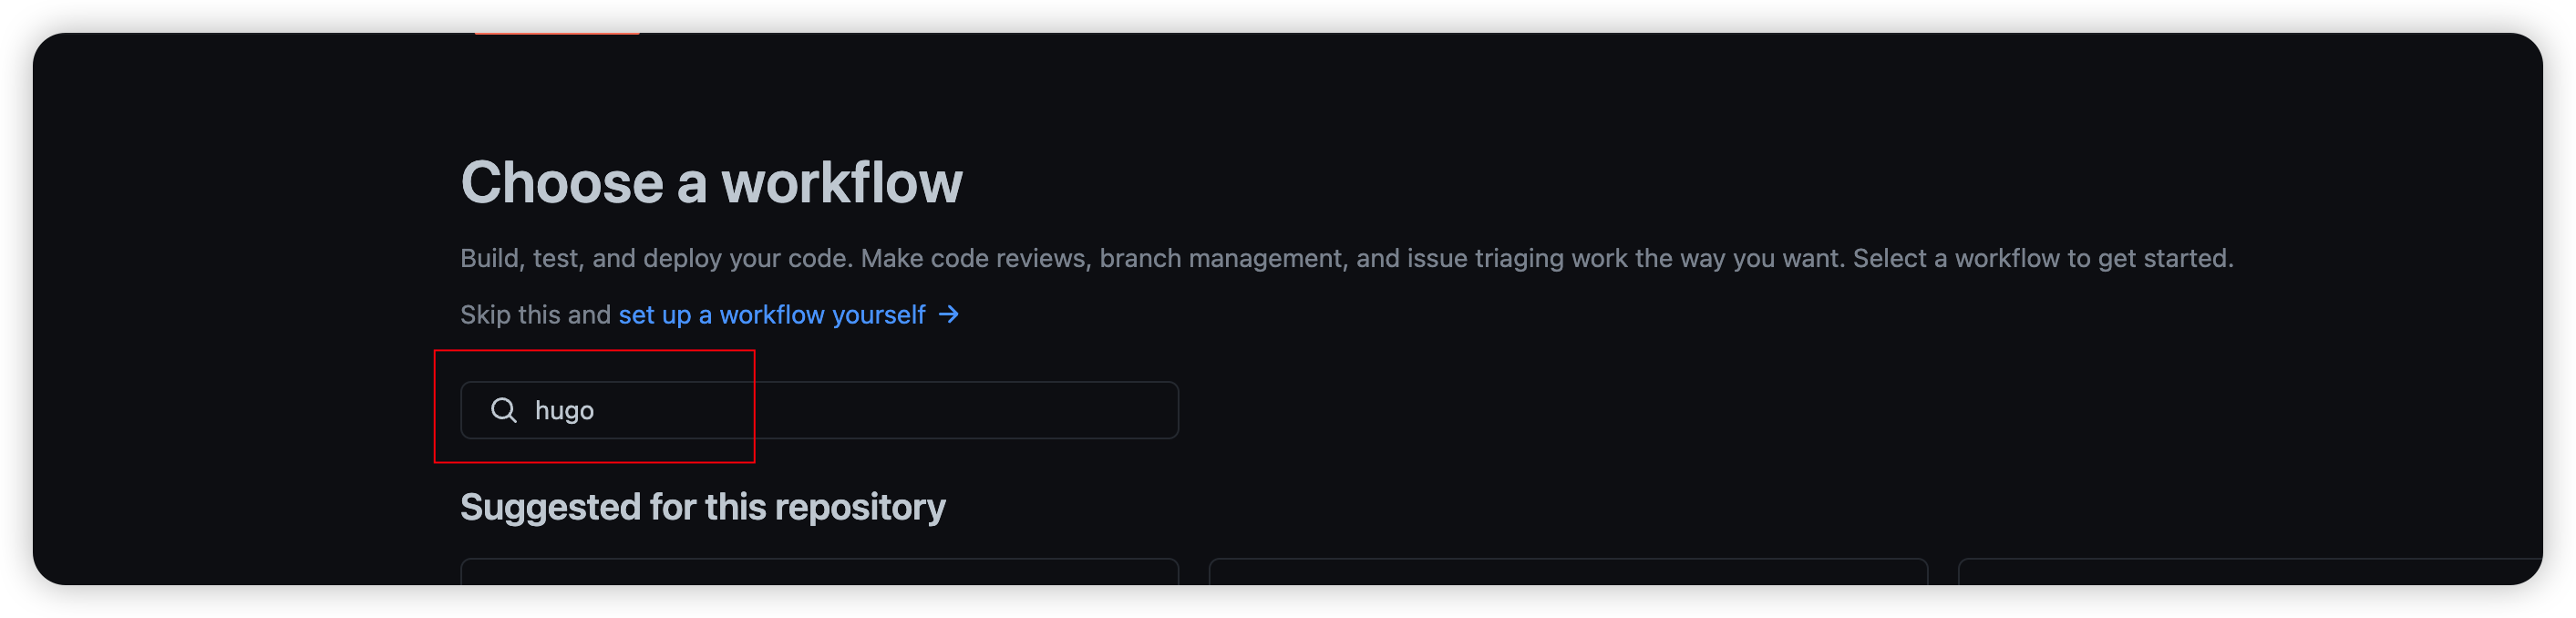
- 点击configure,配置hugo,并在.github/workflow目录下生成hugo.yml配置文件。
- 新建 workflow
- 需要两个 repo,一个对应 hugo 项目目录,一个是 github pages 的 repo。
 内容如下:
内容如下:
    ```
    name: pages build and deploy

    on:

    workflow_dispatch:

    push:

    branches:

    - main

    jobs:

    build-and-deploy:

    runs-on: ubuntu-latest

    steps:

    - uses: actions/checkout@v3

    with:

    submodules: recursive

    - name: Setup Hugo

    uses: peaceiris/actions-hugo@v2

    with:

    hugo-version: '0.100.2'

    extended: true

    - name: Build with Hugo

    env:

    HUGO_ENVIRONMENT: production

    HUGO_ENV: production

    run: hugo --theme=even --baseUrl="http://YLShiJustFly.github.io/"

    - name: Deploy

    uses: peaceiris/actions-gh-pages@v3

    with:

    PUBLISH_BRANCH: main

    EXTERNAL_REPOSITORY: YLShiJustFly/YLShiJustFly.github.io

    PERSONAL_TOKEN: ${{ secrets.PERSONAL_TOKEN }}

    PUBLISH_DIR: ./public

    commit_message: ${{ github.event.head_commit.message }}
    ```
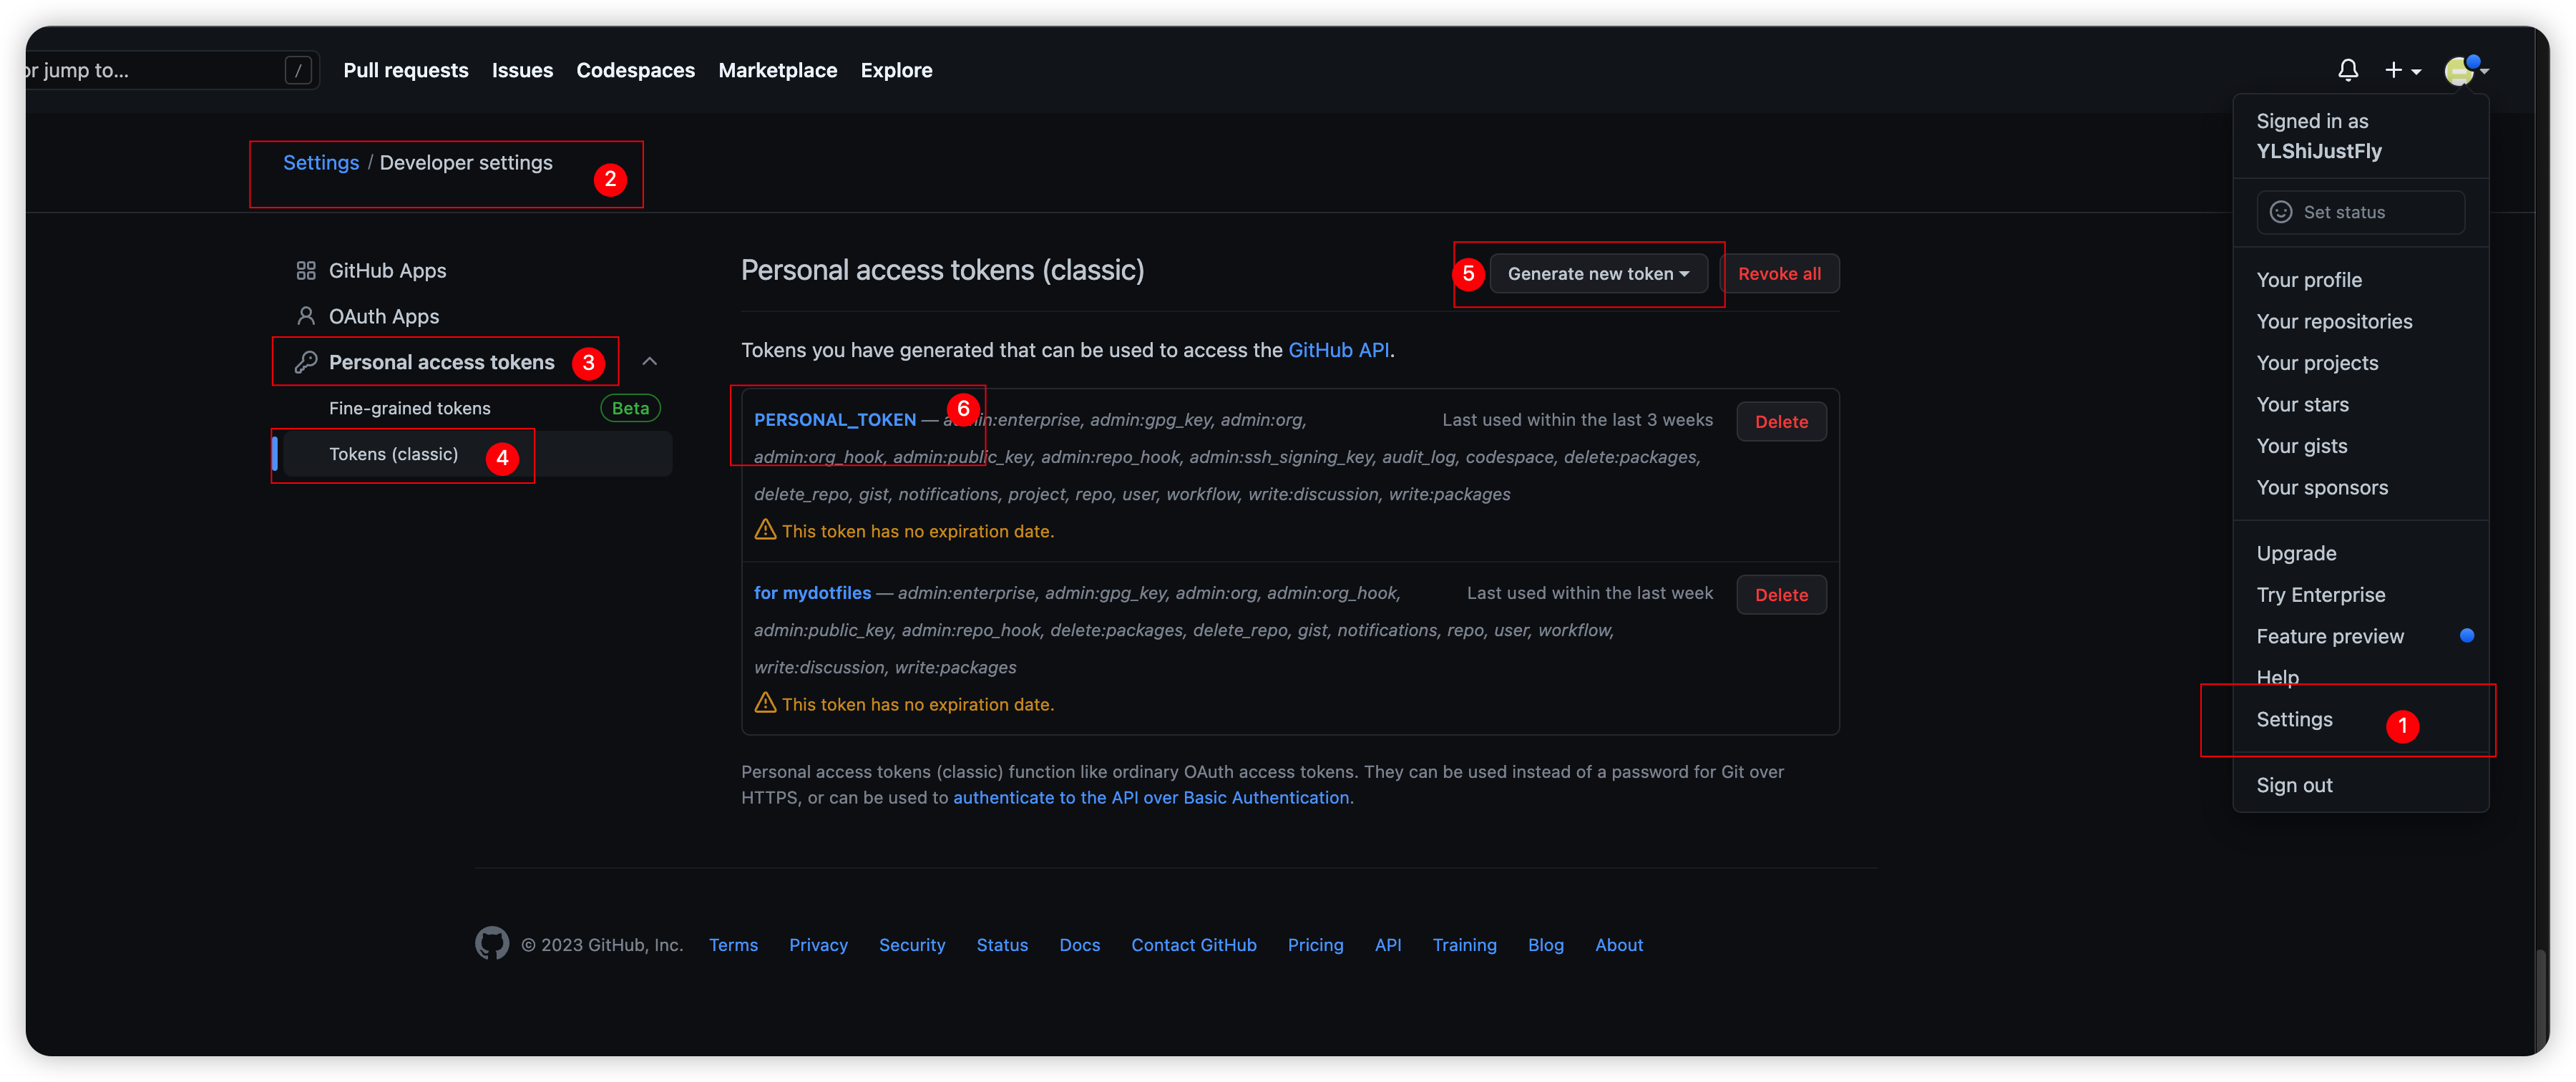
其中,YLShiJustFly/YLShiJustFly.github.io 为需要托管的 git pages 的 git repo 地址。PERSONAL_TOKEN 在 GitHub 账户下 Setting -> Developer setting -> Personal access tokens 下创建。注意生成的 token 只会显示一次,可以自己保存下来。
-
obsidian 侧的配置
-
图床
- 新建一个 picturebed repo,
Setting -> General -> Danger Zone -> visibility需要设置成 public
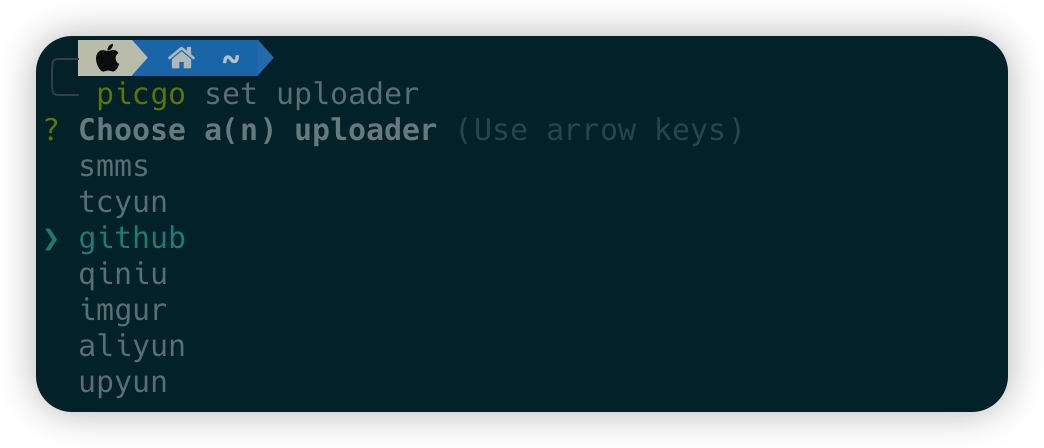
- 本机安装 picgo 命令行工具。
1brew install picgo- 执行 picgo set upload,选择 github,并依次配置 picturebed 相关内容。

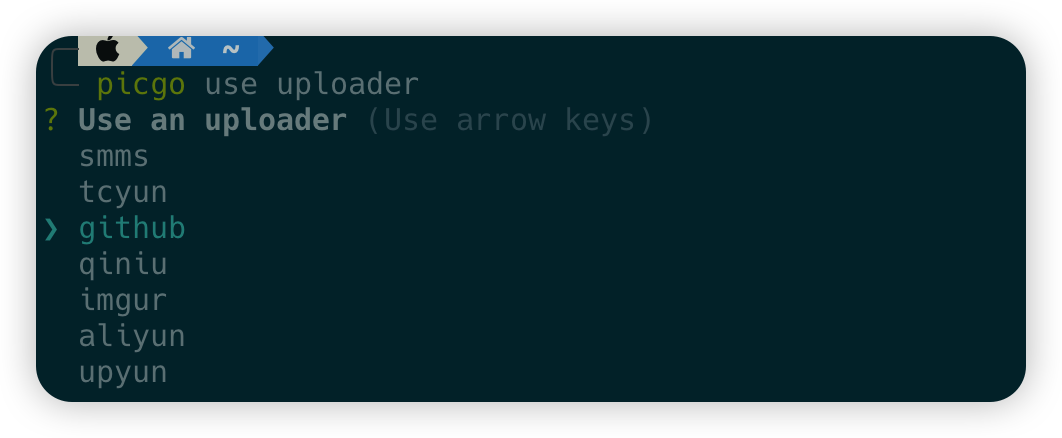
- 执行 picgo use upload,选择 github
- 新建一个 picturebed repo,
-
安装 git 插件
插件市场搜索 Obsidian Git,安装即可。
-
-
使用
在Obsidian编译好文章,输入cmd+p呼出命令窗口,输入git,可以看到Obsidian支持的git命令。
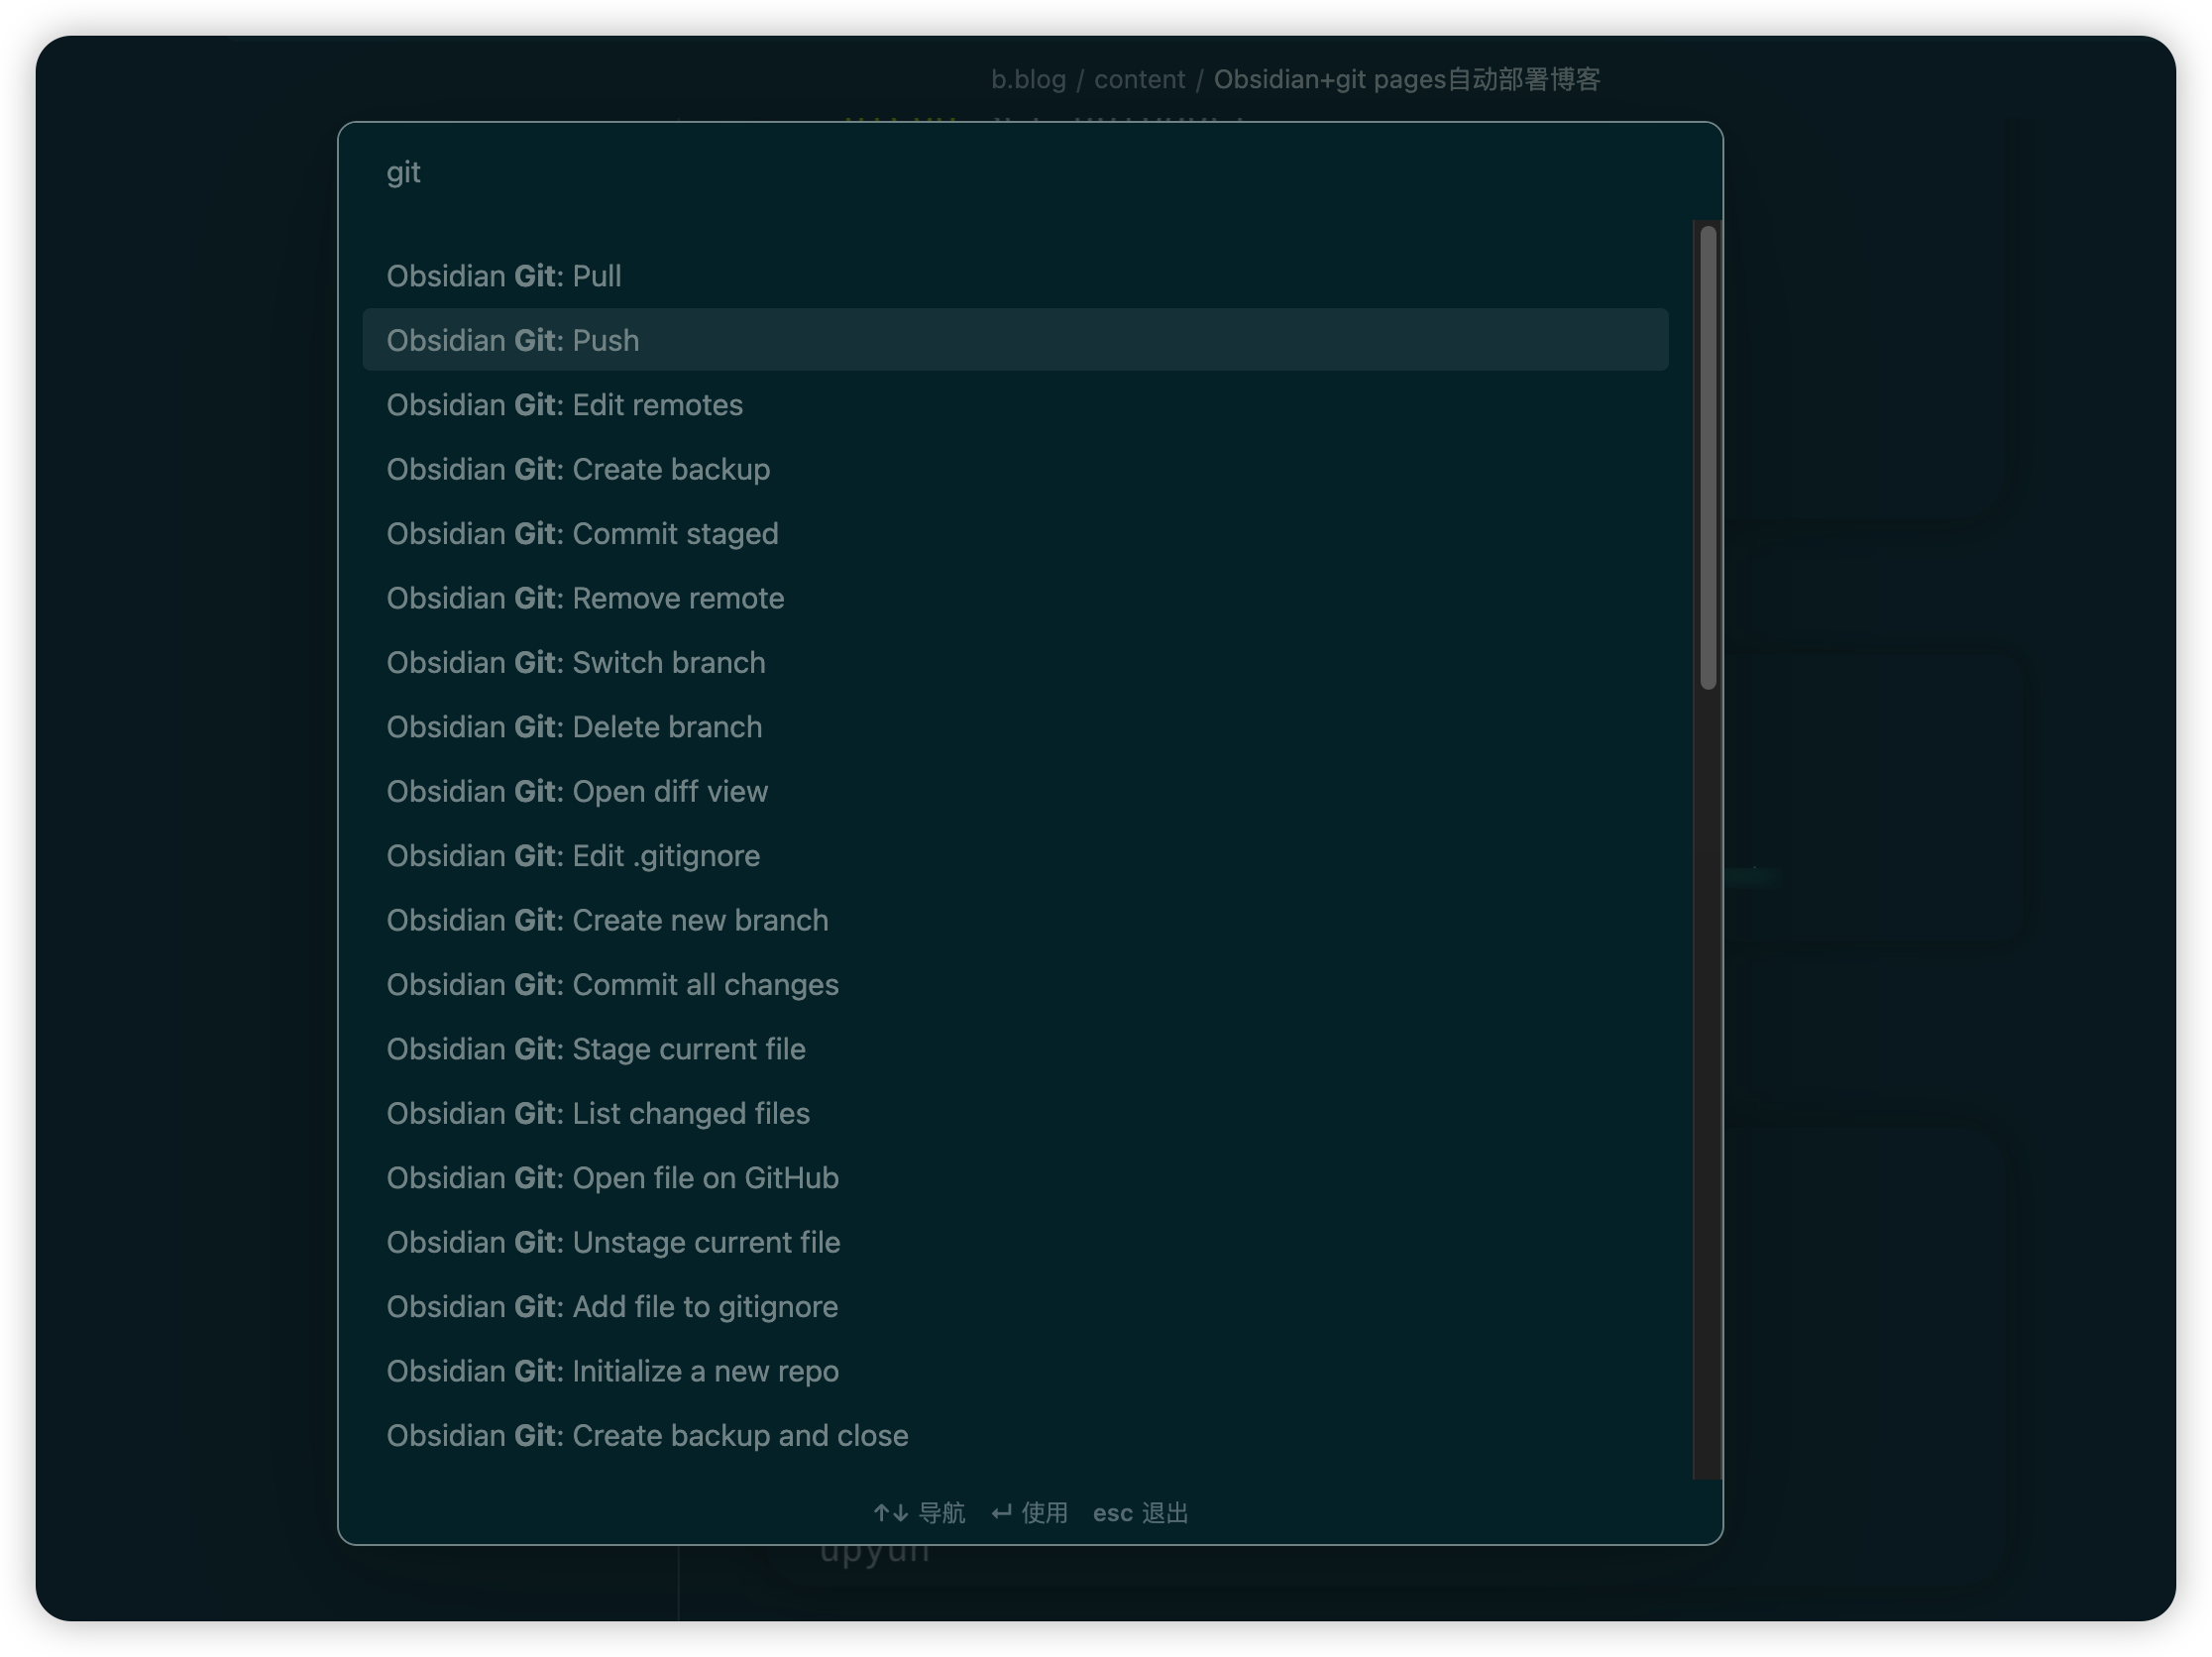 依次执行git pull,git commit,git push,即可把博文推送至hugo仓库。Actions会自动编译并发布到git pages。
Author YLShiJustFly
LastMod 2023-03-02